Best Way to Upload Alot of Pic on Qnap
Qphoto enables you to capture, relive, and share every precious moment on the go. In Qphoto, your photos are displayed and arranged on a timeline for fast browsing and quick access. Yous can choose to store photos on your mobile device or upload them to a QNAP NAS. You tin also share photos with other users via emails or social networks.
- System Requirements
- Installing Qphoto
- Connecting to the NAS
- Browsing Photos and Videos
- Displaying Photos and Videos in Different Modes
- Viewing Dissimilar Categories of Photos and Videos on the NAS
- Browsing Photos with the Built-in Multimedia Viewer
- Viewing 360˚ Photos and Videos
- Viewing Photos in a Slideshow
- Viewing Photos in the Local Gallery
- Viewing Photos and Videos Offline
- Uploading Photos and Videos to the NAS
- Manually Uploading Photos and Videos to the NAS
- Using Photo/Video Instant Upload
- Creating Albums
- Searching for Photos and Videos on the NAS
- Sharing Photos and Videos
- Streaming Content to Media Players
- Viewing Qphoto Background Tasks
System Requirements
- QNAP NAS: QTS iv.1 (or later) with Photo Station installed and enabled. Note that you lot demand a NAS business relationship that has the permission to access Photo Station.
- Mobile device: Android 4.0 (or after) or iOS 9.0 (or afterward).
*If you want to remotely access your NAS, y'all must enable and set myQNAPcloud. For details, see this tutorial.
Installing Qphoto
Download and install Qphoto from Google Play (for Android devices) or App Store (for iOS devices).
Note: This tutorial uses the Android version to demonstrate how to use Qphoto.
Connecting to the NAS
A. Connect to the NAS on the same network
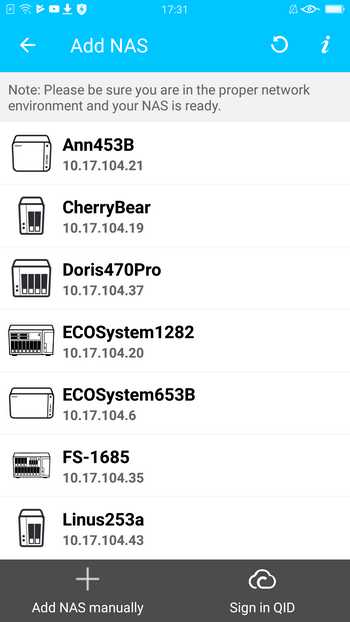
- Open Qphoto.
- Tap "Add NAS."
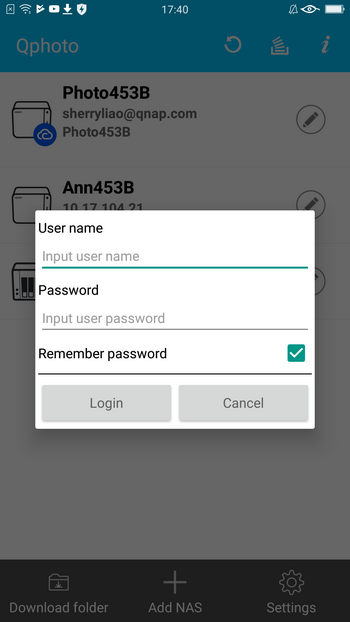
- Select a NAS device from the list.
- Specify your NAS username and password.
Note: Qphoto automatically searches for all the available NAS devices on the network. If you lot have changed the port number (8080 past default) of the NAS, specify the new port number.
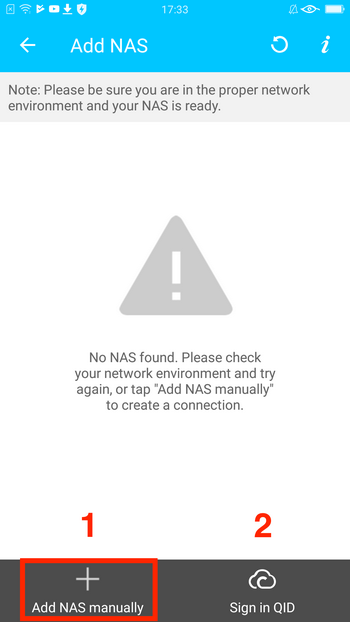
B. Connect to the NAS on a different network
- Tap "Add NAS manually".
- Specify the IP accost or your myQNAPcloud credentials.
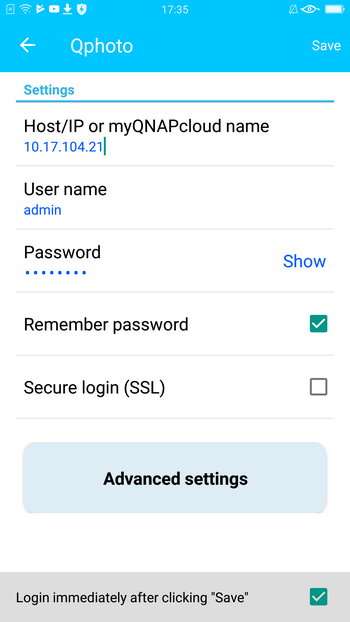
| Field | Description |
|---|---|
| Host/IP accost or myQNAPcloud | Specify the hostname or IP address of the NAS. To connect to the NAS via the Internet, ensure that the NAS is correctly configured for remote admission. For details, see Accessing your QNAP device with myQNAPcloud Service |
| SSL | Before enabling this selection, ensure that the port number is correctly configured (443 by default). |
| Avant-garde settings >Detect port automatically | Yous can enable this selection to automatically discover ports or manually configure the port.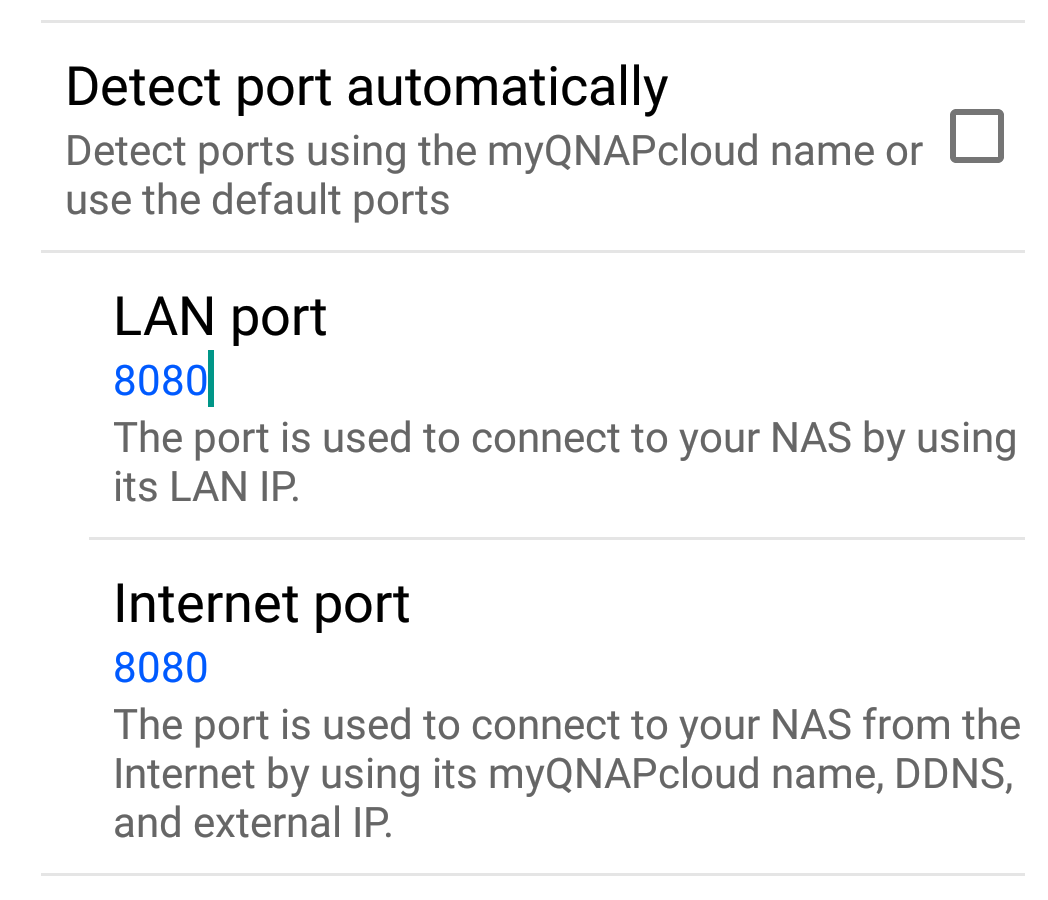 |
You lot can also tap "Sign in QID" to add your NAS to the listing. For details, run across Accessing your QNAP device with myQNAPcloud Service.
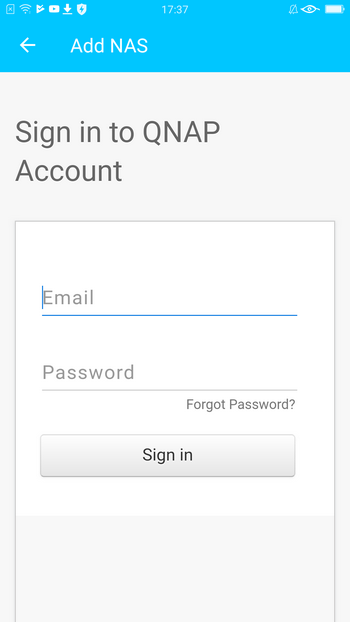
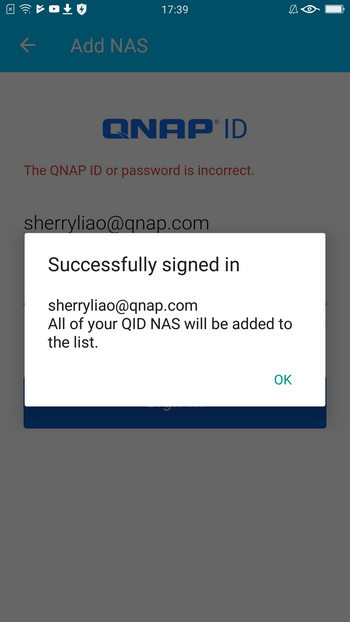
After signing in with your QNAP ID, refresh the folio. Tap the NAS icon and then specify your username and countersign.
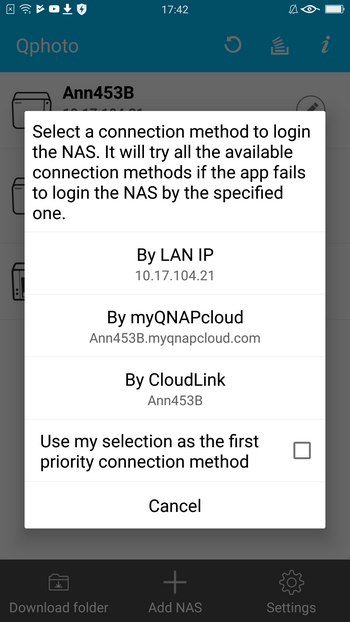
C. Modify the default connection
Qphoto remembers and sets the commencement successful connection equally the default method. To change the default connection method, tap and hold the NAS icon to select a connection method.
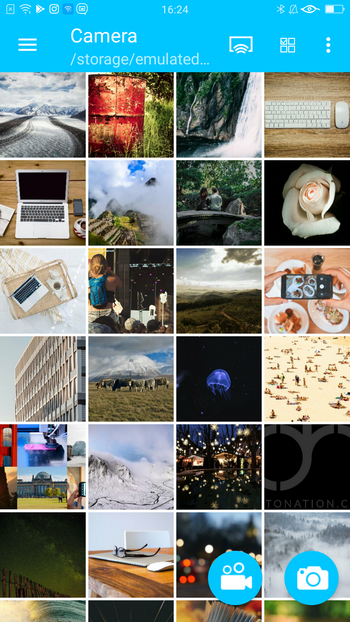
Browsing Photos and Videos
Displaying Photos and Videos in Different Modes
Afterward connecting to the NAS, you can browse photos and videos stored on the NAS. Qphoto has multiple modes for displaying photos and videos.
To select a manner, tap  and so select "View mode".

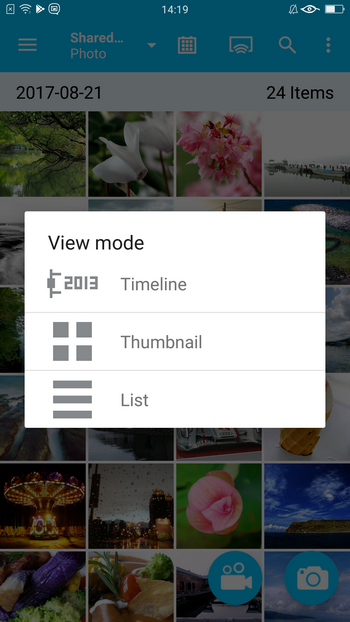
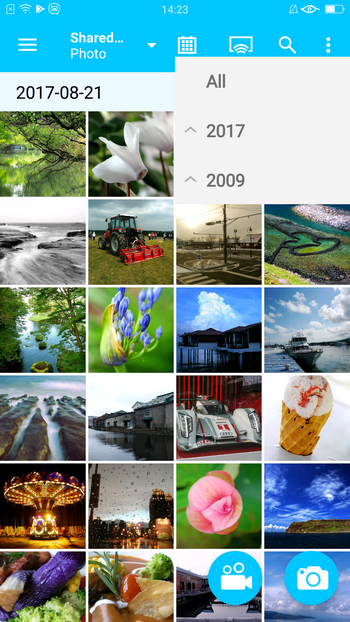
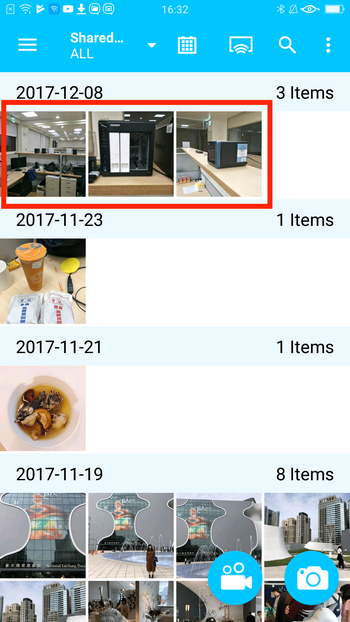
Timeline: This style displays and arranges photos on a timeline co-ordinate to when they are taken. You can tap  to select a specific year or month.
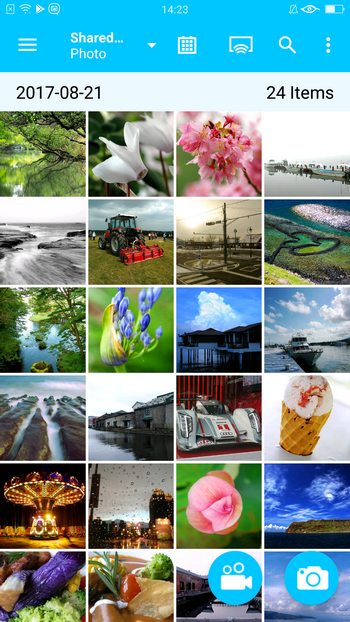
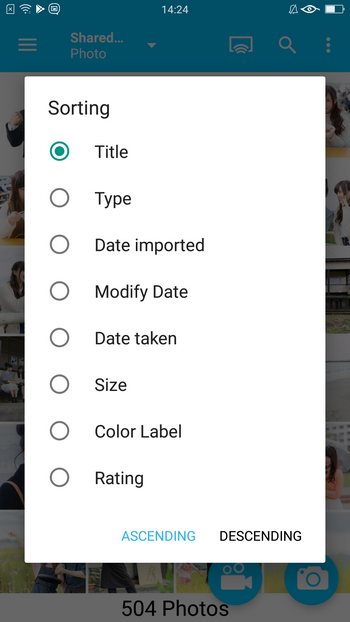
Thumbnail: This mode displays photos as thumbnails. To sort files, tap and and so select "Sort". You can specify the sorting criteria.
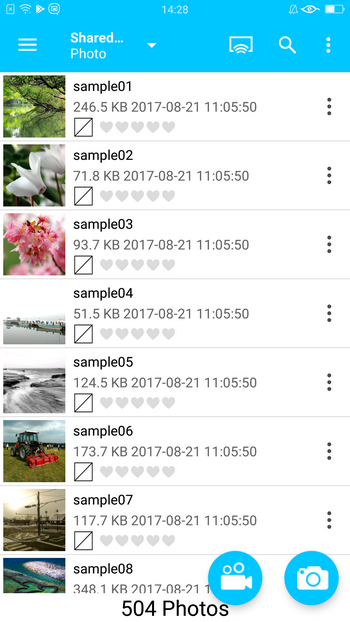
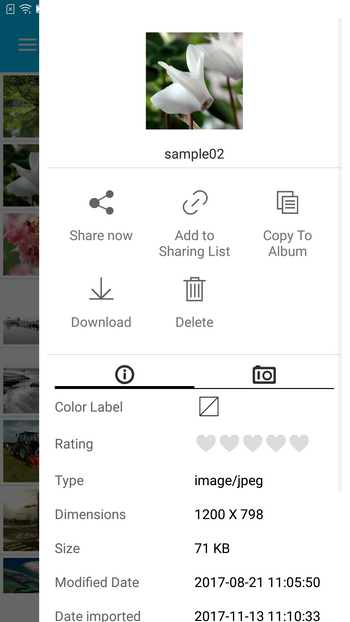
Listing: This mode displays the detailed information of your photos (color label, rating, etc). Tap  for more options. You tin can share, copy, download, or delete files. You can also view the information of photos.
Tap  to select a filter.
- "Photo": bear witness only photos
- "Video": show only videos
- "Both": show both photos and videos
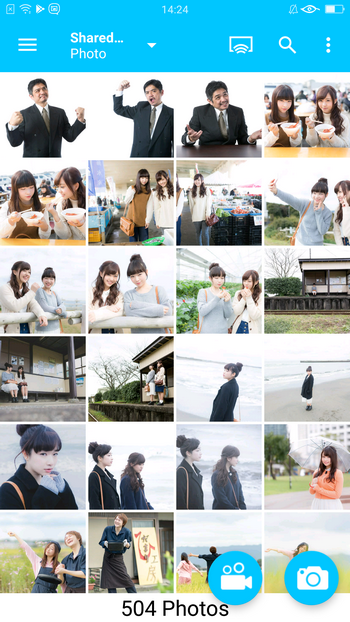
Viewing Different Categories of Photos and Videos on the NAS
You can hands browse photos and videos in various categories. Tap  to open the left menu:
| Icon | Item | Description |
|---|---|---|
 | Shared Photos | Show the shared photos of every NAS user. |
 | Private Collection | Testify the photos and videos in your ain home folder. |
 | Qsync | Show the photos and videos in the Qsync folder. |
 | Folder | View the folder structure and the photos and videos contained in folders. |
 | Album | Browse albums created on Photo Station. |
 | Smart Album | Browse smart albums created on Photograph Station. |
 | Faces | Scan People albums created on Photo Station. Annotation: This feature is only bachelor for x86 models. For details, run across Managing Photos with Photo Station |
 | Recently Imported | Show photos and videos imported in the last month. |
 | Recently Taken | Show photos and videos taken in the last month. |
 | Trash Tin can | Cheque deleted photos or videos. |
Browsing Photos with the Built-in Multimedia Viewer
Qphoto has an integrated multimedia viewer to display photos and play videos.
To open the multimedia viewer, tap a photo or a video.

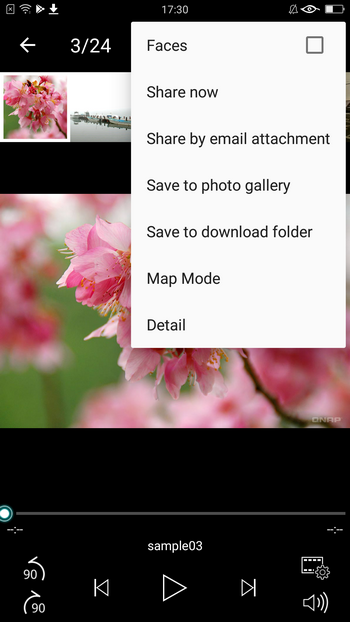
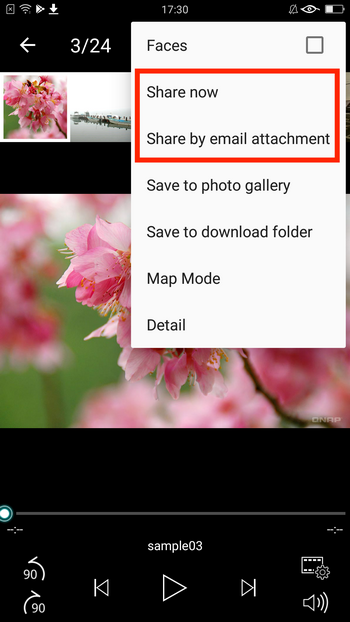
Tap  for more actions:
- Faces: Testify face up profiles created on Photo Station. (Note: This feature is only available for x86 models. For details, see Managing Photos with Photo Station)
- Share now: Direct share the photo.
- Share by e-mail attachment: Send the photograph equally an electronic mail zipper.
- Salvage to photo gallery: Download the photo to the gallery on the device.
- Save to download folder: Download the photograph to the Qphoto download folder for offline viewing.
- Map Mode: Evidence where photos are taken based on their GPS information.
- Particular: View more than detailed information nearly the photo.
Viewing 360˚ Photos and Videos
Qphoto automatically displays 360˚ photos or plays 360˚videos in the panorama mode if their metadata contain the 360˚ tag.
If the metadata of a photograph or a video does not incorporate the 360˚ tag, you lot tin all the same tap  to view it in the panorama manner.
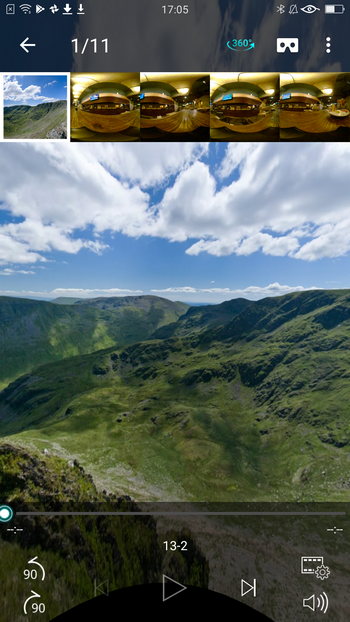
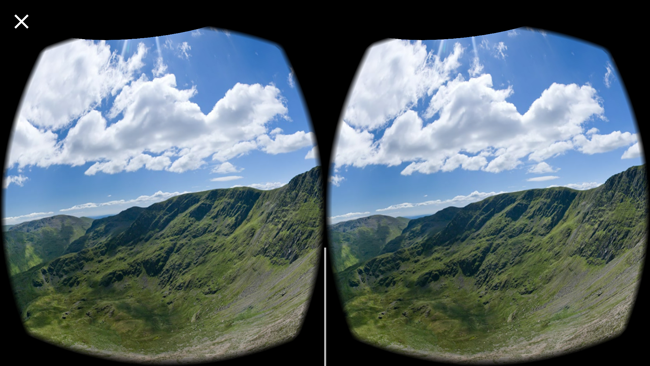
When the panorama style is enabled, you lot tin can tap  to view the photo or video in the VR mode. You can then put your telephone in a Google Cardboard viewer.
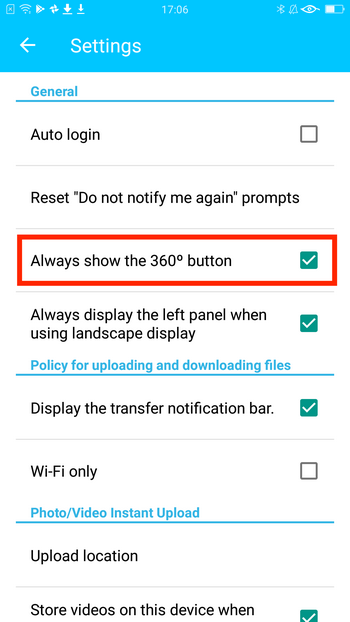
By default, the 360˚ panoramic view button is always displayed on the multimedia viewer. To change this setting, go to "Settings" > "General".
Note: QTS 4.iii.4 (or after) and Photograph Station v.6 (or later on) are required for viewing 360˚ files.
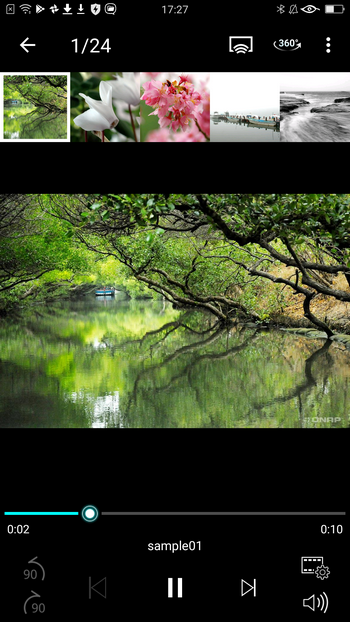
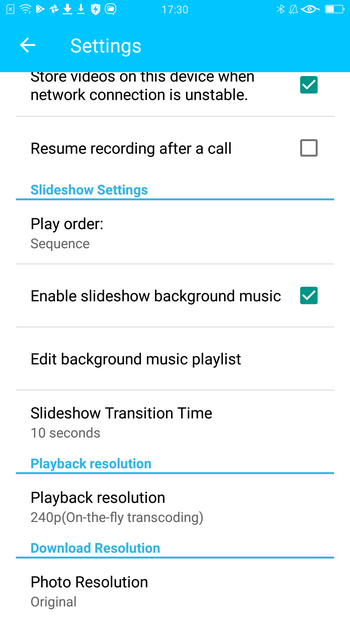
Viewing Photos in a Slideshow
In the multimedia viewer, tap the "Play" icon to view photos in a slideshow with background music.
To play background music during the slideshow, get to "Settings" > "Slideshow Settings" to enable slideshow background music.
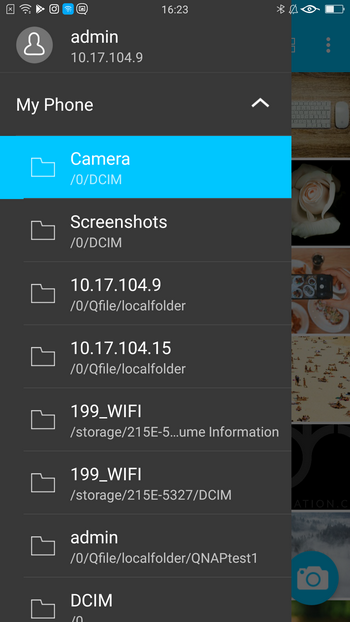
Viewing Photos in the Local Gallery
You tin can view the photos and videos on your mobile device. Tap to open the left card and select "My Phone".
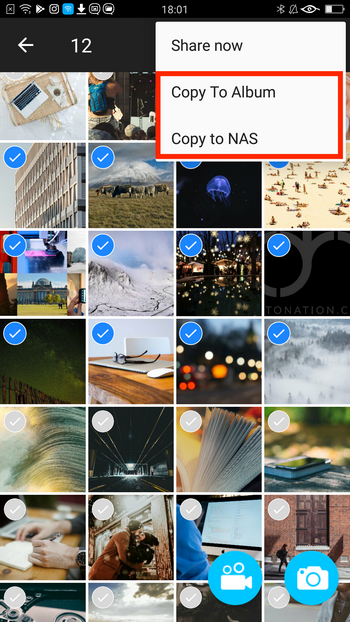
Tap  to select photos and videos for more than deportment.
- Delete: Delete selected items from your device.
- Share at present: Direct share the photo.
- Copy to Album: Upload the selected items to the NAS and re-create them to an anthology.
- Re-create to NAS: Upload the selected items to the NAS.
The  icon appears next to a photo or video that has been uploaded to the NAS. To save the storage space of your device, tap and select "Delete media from device". Qphoto will delete all uploaded items from your device.

Viewing Photos and Videos Offline
To brand photos and videos available for offline viewing, you can select photos or videos and salve them to the Download folder. To view offline content, tap and and then select "Download folder" or tap "Download folder" on the dwelling page.
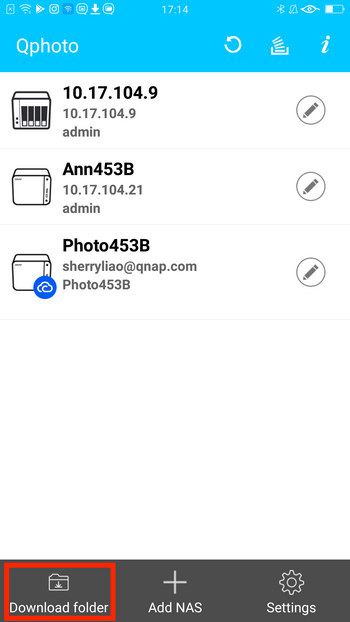
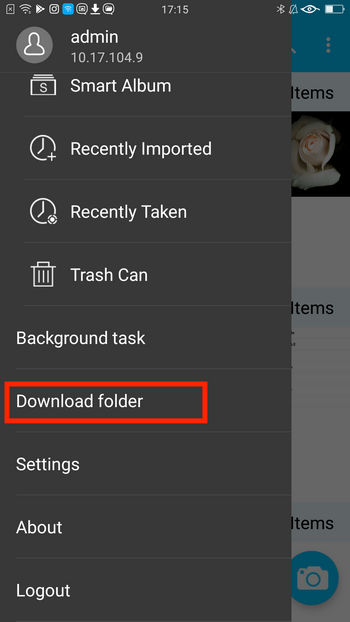
Tip: You tin can find more options for the Download binder in "Settings".
Uploading Photos and Videos to the NAS
Manually Uploading Photos and Videos to the NAS
A. In NAS categories
- Select a category.
- Tap .
- Tap "Upload".
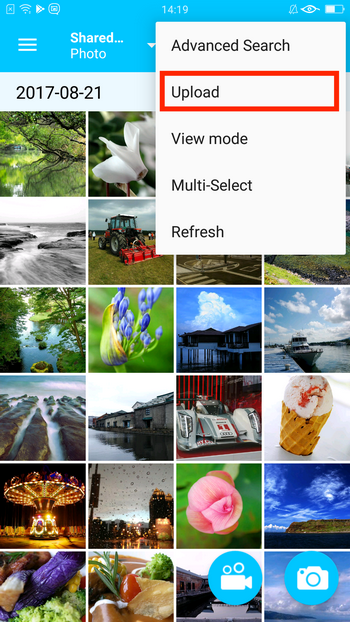
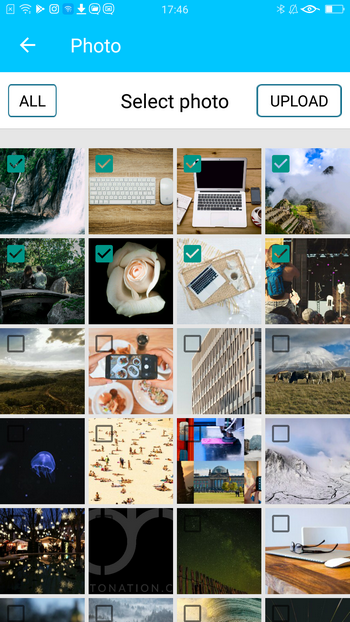
- Select photos.
- Tap "Upload".
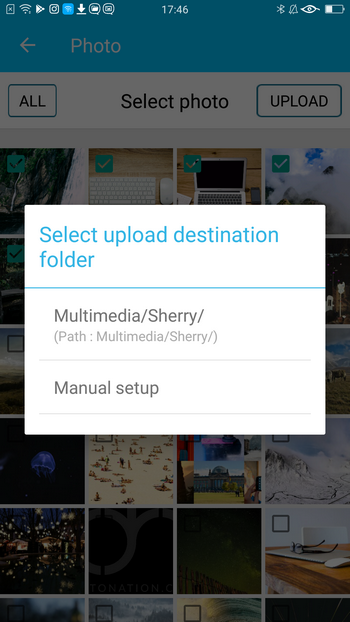
- Select a destination folder.
B. In "My Phone"
- Tap to select multiple photos and videos.
- Tap .
- Tap "Re-create to Album" or "Copy to NAS".
- Copy to Album: Upload the selected items to the NAS and copy them to an album.
- Copy to NAS: Upload the selected items to the NAS.
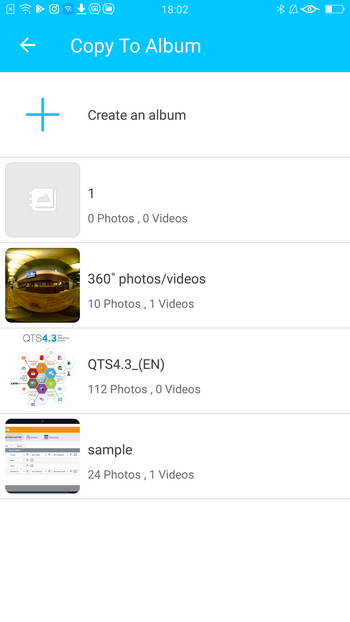
- Select an anthology to upload. (Only for "Re-create to Album")
- Select a destination folder.

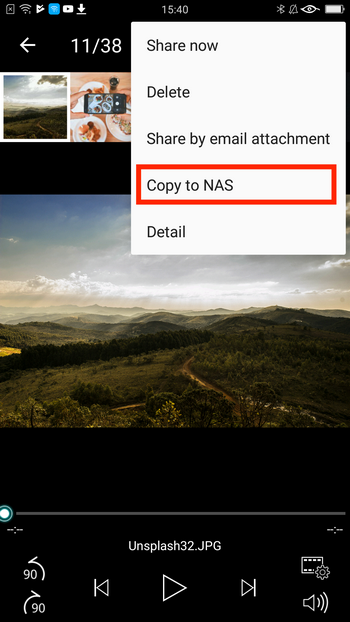
You can also open up the multimedia viewer, tap , and then select "Copy to NAS" to upload files.
Tip: The icon appears next to a photograph or a video after it has been uploaded to the NAS.
Note: Qphoto automatically converts images from HEIF to JPG when uploading photos from mobile devices running iOS 11.
Using Photo/Video Instant Upload
Qphoto allows you lot to instantly upload files to the NAS when taking photos or recording videos. Your media content are deeply stored on the NAS. This feature helps save the storage space on your mobile devices.
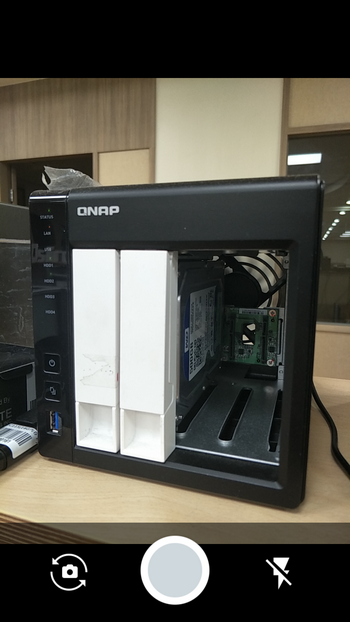
- Tap
 or
or to take photos or record videos.
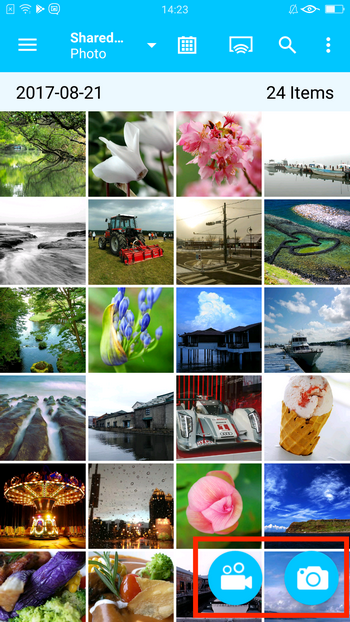
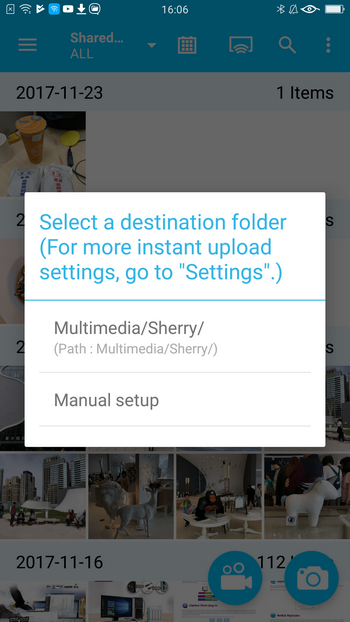
- Select a destination binder for uploading.
- Begin taking photos or recording videos.
Tip:
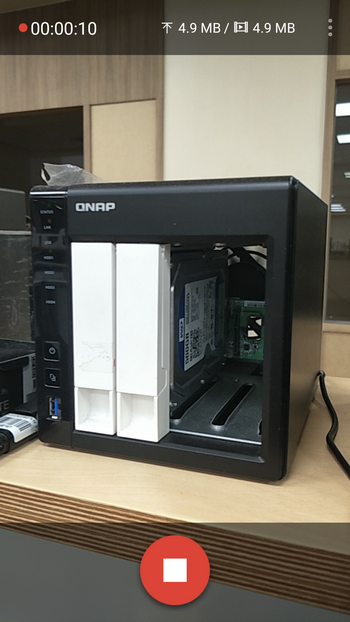
 shows "uploaded file size" and "total file size" of the recorded video.
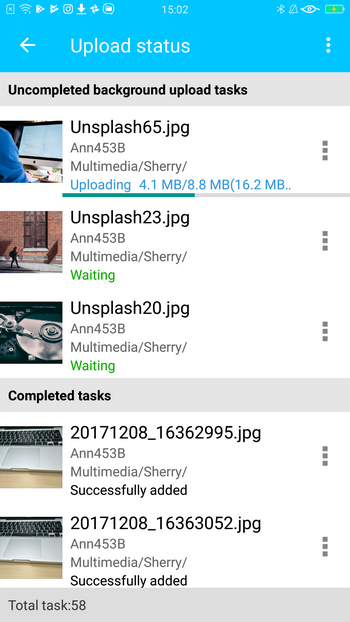
 - Shut the photographic camera and check the upload status.
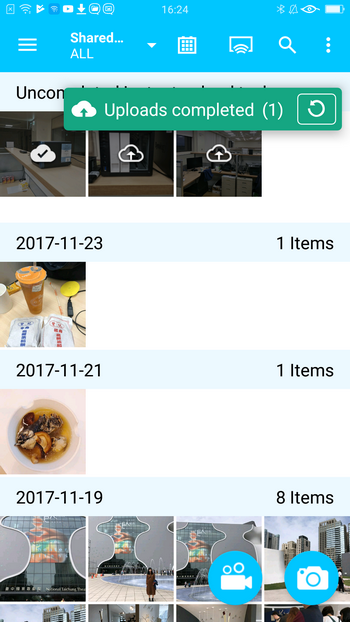
Unfinished files are marked with  . Completed files are marked with . Depending on the upload destination that you specify, you lot can view your files and status in "Shared Photos", "Private Collection", or "Qsync".
Y'all can tap  to refresh the upload condition.
For details, encounter Why am I unable to use photo/video instant upload in Qphoto 3.0 on my Android device?
Creating Albums
- Tap to open up the left bill of fare.
- Select "Album".
- Tap
 to create an anthology.
 - Specify a name for the album and configure permission settings.
Past default, the album is fix every bit private.
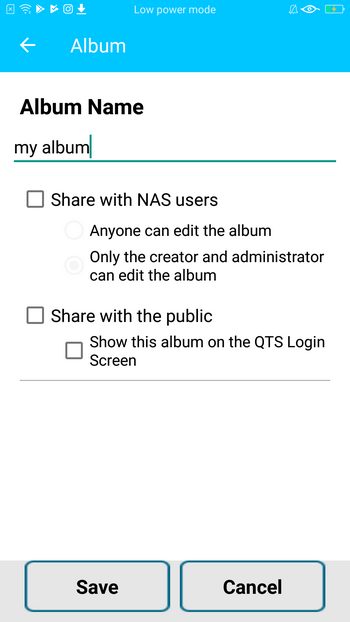
- Tap "Save".
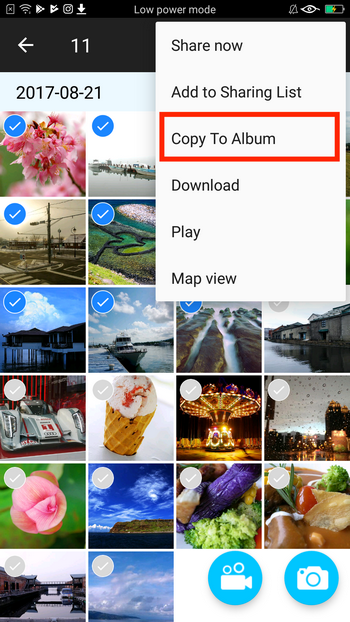
You can then add photos or videos to the album.
You tin likewise add items in other NAS categories or "My Phone". Select items, tap , and then select "Copy To Album".
Searching for Photos and Videos on the NAS
To search for photos or videos, tap  and then type keywords.

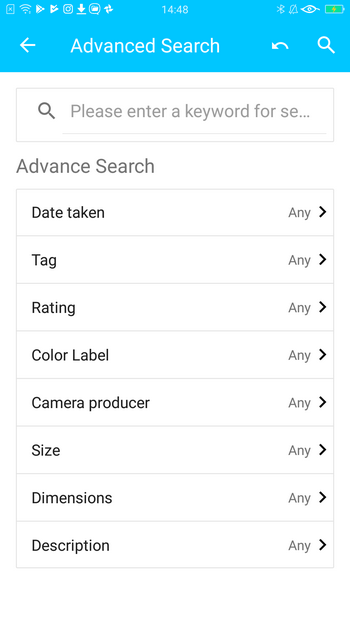
To utilise more than advanced criteria, tap and so select "Advanced Search". You can search for an item by its engagement taken, tag, rating, color label, photographic camera producer, size, dimensions, and description.
Sharing Photos and Videos
To share photos via emails or social networks, tap in the multimedia viewer and the select "Share now" or "Share past email attachment". Note that you must install required third-party apps to share files via social networks such equally Facebook.
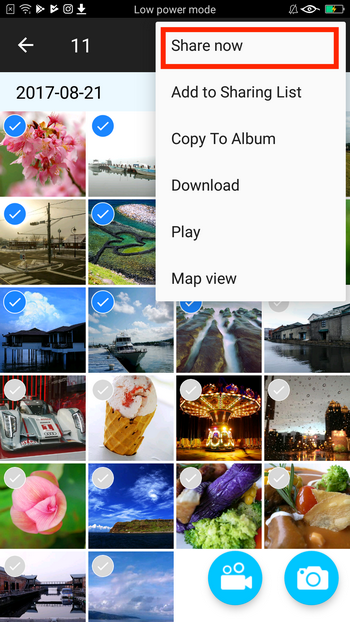
You can too share multiple files at a time. Select multiple items, tap , and then select "Share now".
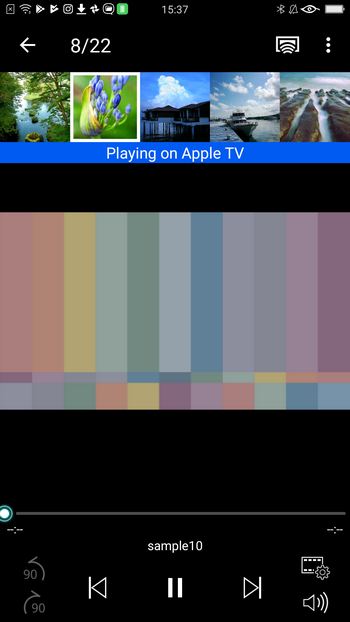
Streaming Content to Media Players
You lot can stream your photos and videos to multiple devices using Qphoto. Tap  to view all devices on your network and select a media device.
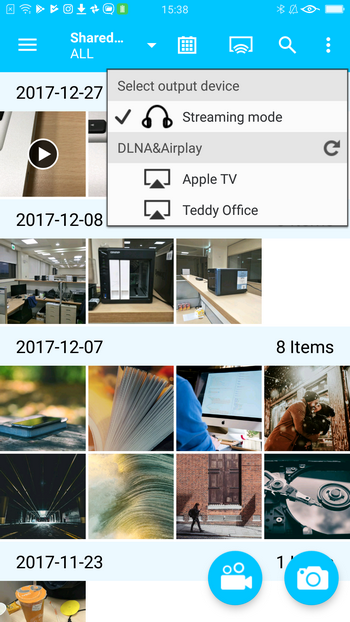
You can then stream media content to the selected device.
Viewing Qphoto Groundwork Tasks
To view background tasks, tap so select "Background chore". You can check the status of upload and download tasks. You can also view the incomplete tasks and bank check the current progress.
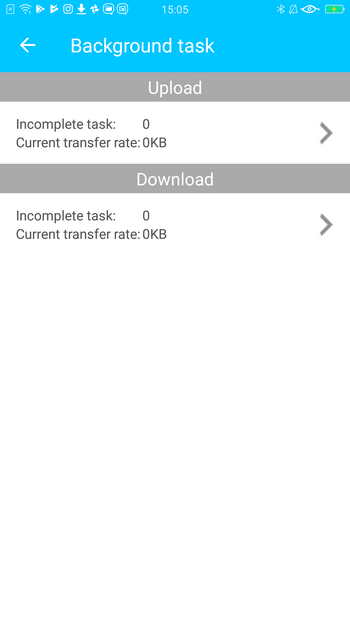
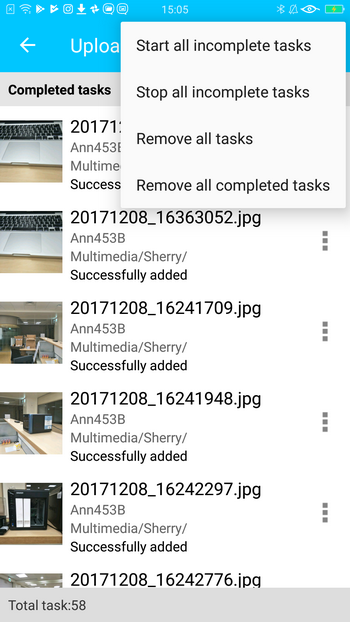
To manage the tasks, tap for more advanced options.
Source: https://www.qnap.com/en/how-to/tutorial/article/managing-photos-on-your-mobile-device-with-qphoto
Post a Comment for "Best Way to Upload Alot of Pic on Qnap"